Create an environment
This page assumes that you have already created a project and platforms access.
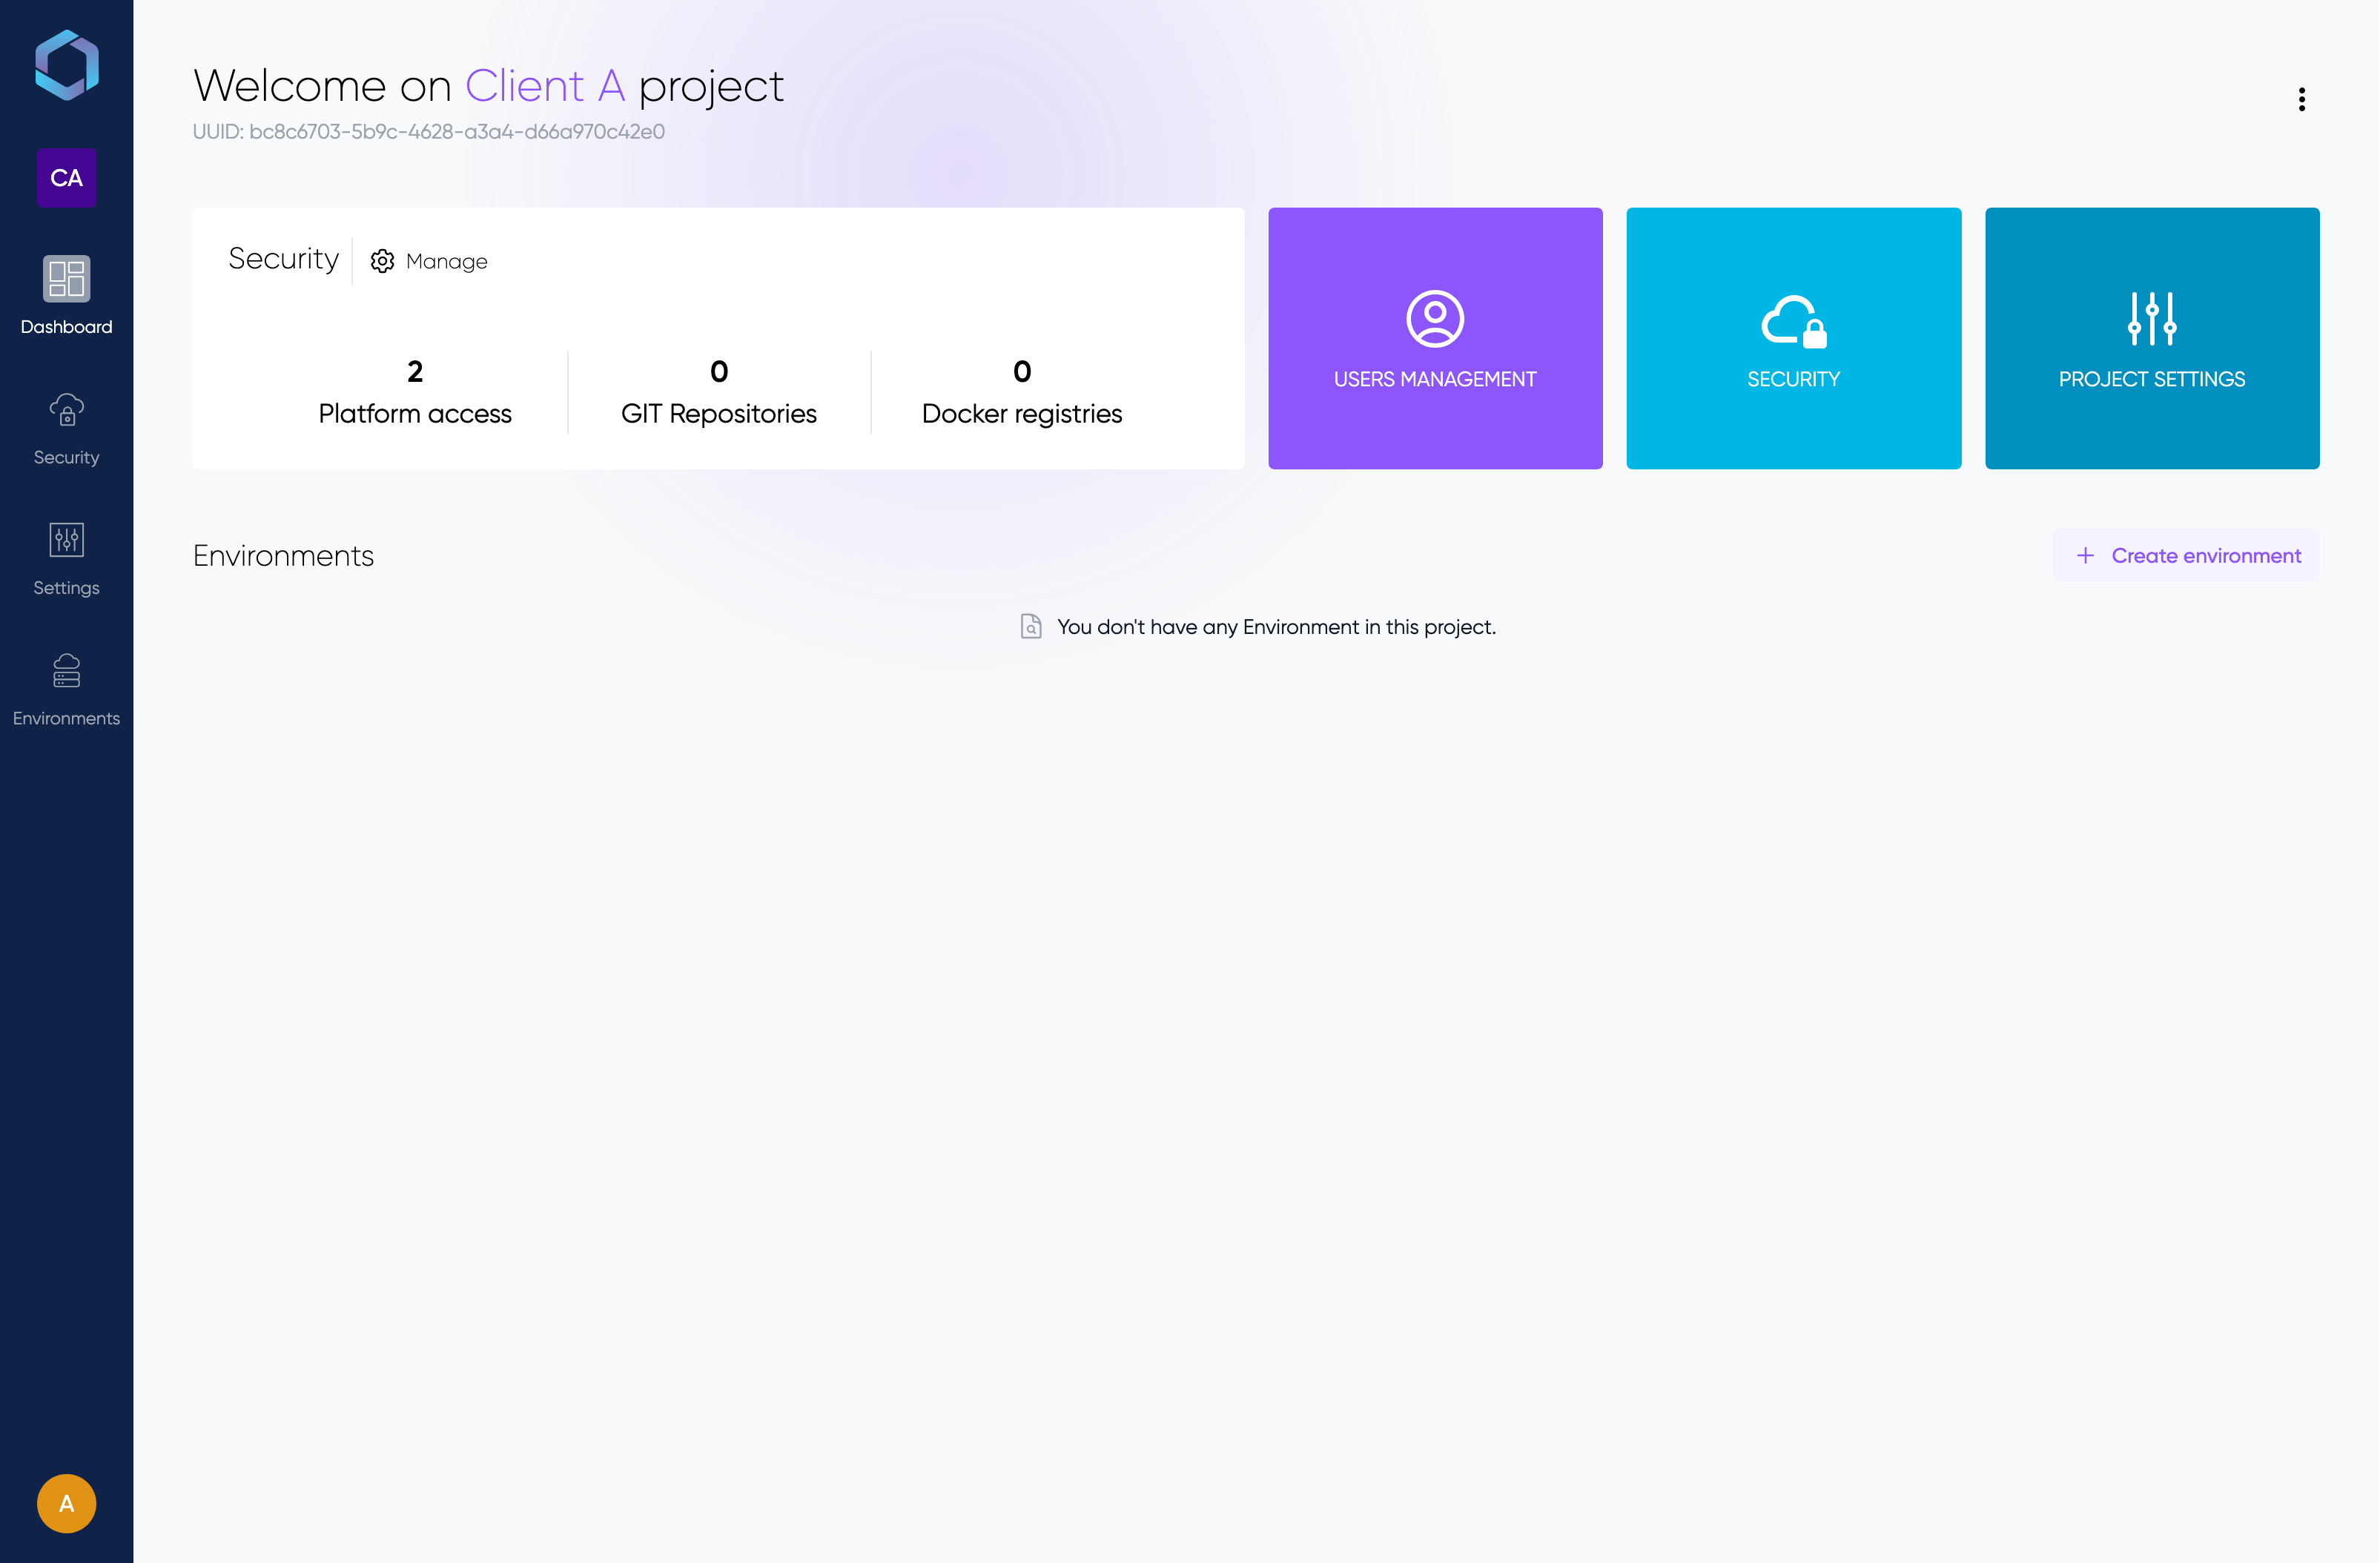
When you first access your project dashboard, you'll see an overview of your project's resources.
You can create your first environment by clicking the "Create environment" button.

The environment creation form is divided into 5 main steps:
1. General Information
- Enter a name for your environment (e.g., production, staging, dev)
2. Subscription Plan
Choose between three plans:
- Starter
- Basic
- Premium
See our pricing page for detailed information about each environment type and their features.
3. Orchestrator Zone
- Select the closest zone to your customers where the orchestrator will be deployed.4. Providers
Configure one or more cloud providers for your environment:
- Select a Platform access
- Choose a Region
- You can add multiple providers by clicking "Add provider to this environment"
Click here form more information about providers.
5. Load Balancers
Define where your load balancers will be deployed:
- Select a Platform access
- Choose a Region
- Specify the Instance type
Once all required fields are filled, check the Terms of Sale checkbox and click the "Create" button to create your environment. You will then be redirected to the environment details page.